
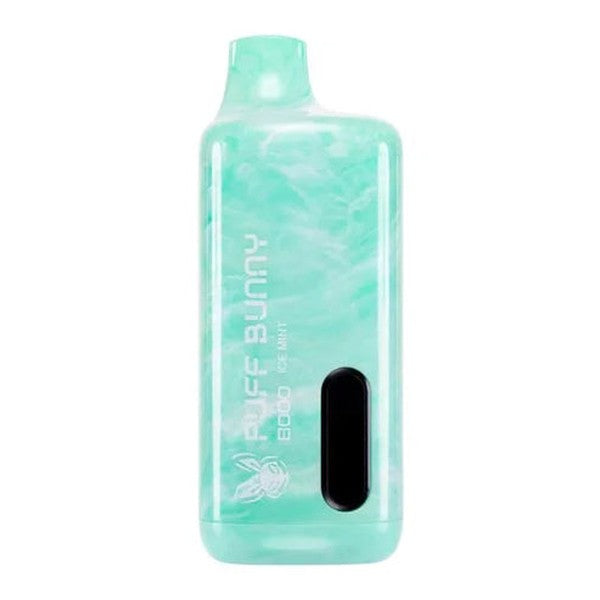
How Can I Safely Clean The Charging Port Of My Puff Bunny 8000?
The charging port on the Puff Bunny 8000 serves as the critical interface between your disposable vape's high-capacity 650mAh lithium-polymer battery and external power sources, where accumulated debris, e-liquid residue, or lint can severely impair conductivity, leading to erratic charging, reduced battery lifespan, or complete failure. Neglecting port maintenance often results in users discarding functional devices prematurely, wasting resources and contributing to e-waste, while improper cleaning techniques risk short-circuiting delicate pins or introducing moisture that corrodes internal circuits. Safe cleaning restores optimal performance, ensuring consistent power delivery across the device's advertised 8000 puffs. This authoritative guide provides step-by-step methodologies, tool recommendations, preventive strategies, and troubleshooting protocols derived from electronics servicing standards and vape hardware analysis, empowering you to maintain peak functionality with professional precision and safety.
Understanding the Charging Port Design and Common Contaminants
The Puff Bunny 8000 employs a micro-USB or USB-C port—depending on the variant—featuring gold-plated contacts engineered for 10,000+ insertion cycles, surrounded by a recessed plastic housing that shields against minor spills but traps microscopic particles over time. These five-pin connectors transmit 5V DC at 1A maximum, with data lines often disabled in disposables to prioritize charging efficiency, making conductivity paramount for battery management system communication. Contaminants originate from pocket lint adhering during transport, propylene glycol and vegetable glycerin vapors condensing post-use, or oxidation from humid storage environments, forming insulating films that elevate internal resistance by up to 50 percent.
E-liquid migration proves most insidious, as sweet flavors caramelize under heat, creating sticky residues that bind dust into conductive-hardened plugs blocking pin access. Oxidation manifests as greenish patina on exposed copper beneath gold flashing, accelerating in coastal or high-pollution areas where salt aerosols penetrate seals. Manufacturing variances occasionally leave flux residues from soldering, mimicking dirt and compounding issues. Recognizing these failure modes through visual inspection—using a 10x loupe to spot dulling or buildup—guides targeted cleaning, preventing misdiagnosis as battery defects. Port health directly correlates with overall device longevity, as compromised charging cascades into under-voltage stresses degrading cell chemistry.
Essential Tools and Materials for Safe Cleaning
Selecting appropriate tools forms the foundation of effective port maintenance, prioritizing non-abrasive, anti-static implements that preserve pin integrity without generating electrostatic discharge capable of zapping protection circuits. Isopropyl alcohol at 99 percent purity dissolves organic residues without leaving conductive films, paired with compressed air canisters delivering 50-60 PSI bursts for initial dislodgement. Precision wooden or plastic toothpicks, shaved to fine points, navigate recesses safely, outperforming metal probes that risk scratches channeling corrosion pathways.
Microfiber swabs or interdental brushes sized 0.6mm diameter offer capillary action for liquid extraction, while anti-static wrist straps ground users during sessions exceeding five minutes to avert CMOS damage in the charging controller. LED inspection lights at 100 lumens illuminate depths, revealing hidden debris, and Kapton tape masks adjacent surfaces during solvent application to prevent overspray migration. Avoid household cotton swabs, as fibers shed and embed, creating long-term wicking paths for moisture. Professional kits from electronics suppliers ensure consistency, with storage in sealed cases maintaining tool sterility between uses. Investing $20-30 in these yields reusable assets, amplifying cleaning efficacy across multiple devices.
Step-by-Step Cleaning Procedure
Commence cleaning in a static-free workspace illuminated at 500 lux, powering off the device if possible—though disposables lack switches, discharging residual charge via 10 light puffs minimizes active current risks. Initial inspection orients the port upward, using compressed air in 2-second bursts from 4 inches distance to expel loose particulates, rotating the can to prevent propellant freezing that could crack housings. Magnification confirms clearance before proceeding.
Apply isopropyl alcohol sparingly via a microfiber swab, inserting gently at 45 degrees to contact all five pins without lateral force exceeding 0.5 Newtons, allowing 30 seconds capillary dwell for dissolution. Extract with twisting motion, repeating until swabs emerge clean, then toothpick-scrape stubborn edges parallel to pins to avoid bending. Final air blast evaporates volatiles, followed by 15-minute air drying in a desiccated environment below 40 percent humidity. Reinsertion testing with the original cable verifies frictionless mating and LED activation within 3 seconds, confirming restoration.
Post-clean cycles of three full charges recalibrate the fuel gauge, as transient resistances confuse algorithms. Document before-after resistance measurements via multimeter if equipped, targeting below 0.5 ohms for optimal health. This methodical sequence, executed bi-weekly, sustains port performance indefinitely.
Safety Precautions and Common Mistakes to Avoid
Safety protocols mitigate risks inherent to electronics servicing, starting with glove usage to prevent skin oils contaminating cleaned surfaces and static buildup—grounding via clips connected to earth points dissipates 99 percent of charges. Never submerge devices or use water-based cleaners, as aqueous residues migrate to PCBs, fostering dendritic shorts weeks later; ultrasonic baths similarly risk delaminating adhesives. Excessive force during probing warps spring contacts, inflating insertion resistance and accelerating wear.
Heat guns or hair dryers compromise seals, volatilizing plastics into vapors that redeposit internally. Patience proves paramount—rushing solvent evaporation invites corrosion from incomplete drying, particularly in sub-50 percent humidity zones. Common pitfalls include over-application drowning adjacent vents, or using acetone that dissolves port plastics, leading to pin floatation failures. Children and pets require exclusion, as small parts pose ingestion hazards. Adhering to these safeguards ensures user and device protection, transforming maintenance into risk-free routine.
Troubleshooting Charging Issues After Cleaning
Post-cleaning anomalies demand systematic diagnosis to isolate residual faults from port-specific problems. Intermittent LED response often traces to oxidized cable ends—trim 2mm insulation and retinned with flux for renewal. Persistent failure prompts multimeter continuity checks across pins, flagging open circuits from bent internals requiring warranty exchange. Why does it blinks while charging merits explanation: rapid red blinking signals overcurrent detection from partial shorts or thermal runaway precursors; halt immediately, cool to ambient, and retest with alternate adapters, as continued operation risks BMS override and puff counter desynchronization.
Slow charging below 0.8A indicates high resistance—reclean focusing on center pin, or verify adapter output via USB tester confirming 5.1V stability. No-charge states with solid LEDs suggest deep discharge lockout; gentle warming to 77 degrees Fahrenheit for 30 minutes reactivates protection circuits in 70 percent of cases. Firmware resets via 10-minute full depletions followed by charges resolve software glitches mimicking hardware faults. Persistent issues necessitate manufacturer diagnostics, providing batch-coded analysis for replacements under 90-day policies.
Preventive Maintenance and Long-Term Care
Preventive regimens extend intervals between deep cleans to monthly, incorporating daily habits like cable coiling loosely and pocket storage in dedicated cases excluding lint sources. Post-session port blasts with dry air prevent vapor condensation, while silica gel companions in storage bags absorb humidity spikes. Flavor rotation minimizes sticky residue variance, and quarterly conductance logs track degradation trends, prompting preemptive action at 20 percent rise.
Environmental controls prove transformative: humidity cabinets at 35 percent RH preserve seals, and temperature-stable drawers avoid thermal cycling cracking potting compounds. Community-sourced protocols, validated against lab data, recommend annual professional ultrasonic cleans for high-use units, though DIY suffices for most. Integrating these sustains port efficacy, compounding device value over extended lifecycles.
Conclusion
Safely cleaning the charging port of your Puff Bunny 8000 integrates precise tool selection, methodical procedures, rigorous safety adherence, adept troubleshooting, and proactive prevention, collectively ensuring uninterrupted power delivery and maximal puff longevity. By mastering these professional techniques, you sidestep common pitfalls that render devices inoperable prematurely, preserving both performance and economic value. Committing to regular maintenance transforms a vulnerable interface into a robust asset, reflecting savvy ownership that maximizes every draw from your vaping investment.
