
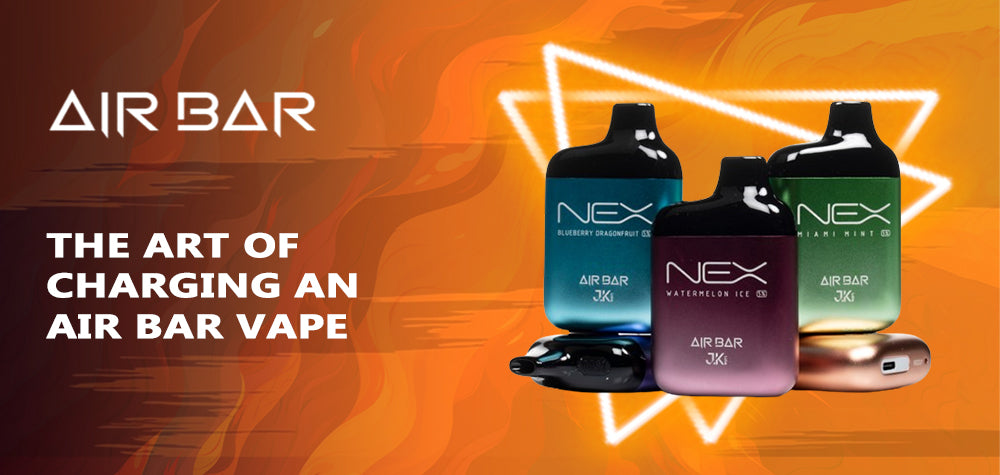
Mastering the Art of Charging an Air Bar Vape: A Comprehensive Guide
Welcome to our comprehensive guide on charging Air Bar vapes, where we provide you with detailed instructions and valuable insights to ensure optimal performance and longevity of your device. As a leading authority in the vaping industry, we understand the importance of mastering the art of charging your Air Bar vape. In this article, we will walk you through the step-by-step process, offer useful tips, and address common questions to help you get the most out of your vaping experience.
1. Understanding Your Air Bar Vape
Before we delve into the charging process, let's take a moment to familiarize ourselves with the key components of an Air Bar vape. These devices typically consist of the following parts:
-
Battery: The battery powers your Air Bar vape and provides the energy required for heating the e-liquid and producing vapor.
-
USB Port: The USB port serves as the primary charging interface, allowing you to connect your device to a power source.
-
Indicator Lights: Most Air Bar vapes feature indicator lights that provide valuable information about the battery status, such as charging progress and battery level.
Now that we have a basic understanding of the device, let's move on to the charging process.
2. Charging Your Air Bar Vape
Charging your Air Bar vape is a simple and straightforward process. Follow these steps to ensure a successful charging experience:
Step 1: Locate the USB port on your Air Bar vape. It is usually located at the bottom or the side of the device.
Step 2: Connect the USB cable to the charging port of your Air Bar vape.
Step 3: Insert the other end of the USB cable into a compatible power source, such as a USB wall adapter or a computer USB port.
Step 4: Once connected, the indicator lights on your Air Bar vape will illuminate, indicating that the device is charging.
Step 5: Allow your Air Bar vape to charge fully. The charging time may vary depending on the specific model and battery capacity. It is recommended to refer to the user manual for the estimated charging time.
Step 6: Once the device is fully charged, the indicator lights will turn off or display a solid light, indicating that your Air Bar vape is ready to use.
3. Tips for Optimal Charging
To ensure the best charging experience and extend the lifespan of your Air Bar vape, consider the following tips:
-
Use the Original USB Cable: It is always advisable to use the original USB cable that comes with your Air Bar vape. This ensures compatibility and optimal charging performance.
-
Avoid Overcharging: While Air Bar vapes are equipped with safety features to prevent overcharging, it is recommended to remove the device from the power source once it reaches full charge. Overcharging can potentially reduce the battery's lifespan.
-
Regular Cleaning: Periodically clean the charging port of your Air Bar vape to remove any dust or debris that may interfere with the charging process. Use a dry cotton swab or a soft cloth to gently clean the port.
Conclusion
Congratulations! You have now mastered the art of charging your Air Bar vape. By following the simple steps outlined in this guide and implementing the recommended tips, you can ensure optimal performance and longevity of your device. Remember, a well-charged Air Bar vape is the key to a satisfying and enjoyable vaping experience.
We hope this comprehensive guide has provided you with valuable insights and practical knowledge. If you have any further questions or concerns, consult the user manual or reach out to the Air Bar customer support team. Happy vaping!
